 |
| Image Credit: Abundant Family Living |
*Note: The watermark on all the photos in this post refers to my previous blog which was named Mom is Forever. All my former blog contents have been moved to this blog, Abundant Family Living.
Flower Craft for Spring
Select a Flower Pot
Painted
flower pots are pretty. They are great for gift giving and they
make great indoor or outdoor decorations. First, choose the right flower
pot. Where will the pot go? Inside? Which room? On a table or on the
floor? Will you need a large pot? A small one? Will you need a
clay pot
or a plastic one? Decide where it will go and then pick just the right
pot. If you are painting a flower pot to give as a gift, it won’t
matter. The person receiving it will love it and will find the perfect
place for it.
My little daycare children painted small clay flower pots to give as
gifts to their mothers for Mother’s Day. We used
coffee filters to
create pretty spring colored flowers. Here is what we did and you can do
it too.
 |
| Image Credit: Abundant Family Living |
Paint Your Pot
This project can be messy so make sure you (or in my case, the kids)
wear old clothes. I allowed my preschoolers to paint their flower pots
independently. I wanted it to be their work, not mine. If your kids have
the skills, they can paint pretty pictures on their pots. They might
paint flowers, butterflies, lady bugs, cars, trucks, tractors, grass,
bugs, etc. Let them use their imaginations. If they don’t have the
skills to paint pictures or emblems, it doesn’t matter. Let them free
paint. My preschoolers chose to use solid colors. My only guideline was
that they paint the whole pot. I wanted them to cover it up. Mostly, I
wanted it to be their work. As a mother myself, I knew their mothers
would appreciate it more if they did all the work.
The following pictures show you examples of their work.
 |
| Image Credit: Abundant Family Living |
 |
| Image Credit: Abundant Family Living |
 |
| Image Credit: Abundant Family Living |
Coffee Filter Flowers
While your flower pots are drying, you can work on the coffee filter flowers. This can be done a couple of different ways.
Allow the kids to color the coffee filters with
regular markers. Then,
let them spray on water with a
spray bottle. The colors will bleed
together. It is fun to watch and it looks pretty when it’s done. Too
much water will make the colors run together too much, resulting in a
black or brown coffee filter flower. Spay on just enough to make the
colors bleed a little bit.
*Don’t use permanent Sharpie markers for this. The colors won’t run together. We tried it once before and learned the hard way.
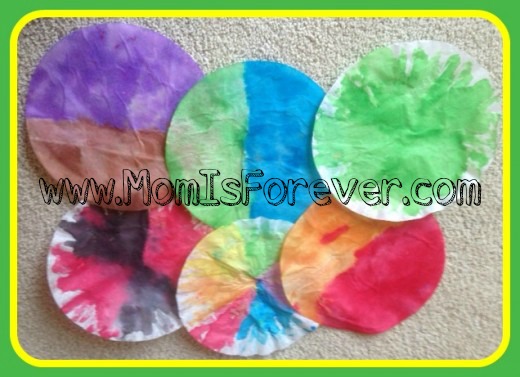
Let the kids paint the coffee filters with
watercolor paints. The colors bleed while they paint. Then, just let it dry. This is what we did.
We painted 6 coffee filters for each flower pot.
 |
| Image Credit: Abundant Family Living |
 |
| Image Credit: Abundant Family Living |
Assemble the Flower Pots
While you are waiting on the coffee filter flowers to dry, you can
assemble the flower pots. I purchased green
Styrofoam balls from my
local Michael’s store which were a perfect fit for our flower pots. I
just stuck the Styrofoam balls into the pots and pressed down a little
bit to make them a tight fit.
 |
| Image Credit: Abundant Family Living |
 |
| Image Credit: Abundant Family Living |
|
|
|
|
Secure the Flowers
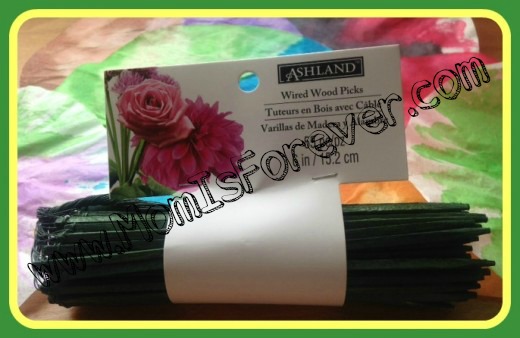
We used wire
wood picks to secure the coffee filter flowers into our
pots. They have wire ties attached. I tied the coffee filters onto the
stems with the wire. Another option is to use green pipe cleaners. You
can twist one end of the pipe cleaner to secure the flower and then
stick the other end into the Styrofoam ball. One more idea is to use
real sticks. If you use sticks, you can secure the flowers to the stick
using rubber bands or twistie ties. You can leave the sticks natural or
let the kids paint them green.
The next photo demonstrates how I secured our coffee filter flowers. I
grabbed the center of the coffee filter and folded it as shown. I placed
the center at the wire end of the wooden stem and then twisted the wire
around to secure the flower.
 |
| Image Credit: Abundant Family Living |
"Plant" Your Flowers
Now, you are ready to “plant” your flowers. Just stick the stems into
the Styrofoam balls. Press them down in there. I had to sort of hammer
some of ours so that all the flowers were even around the pot.
 |
| Image Credit: Abundant Family Living |
Finish Your Project
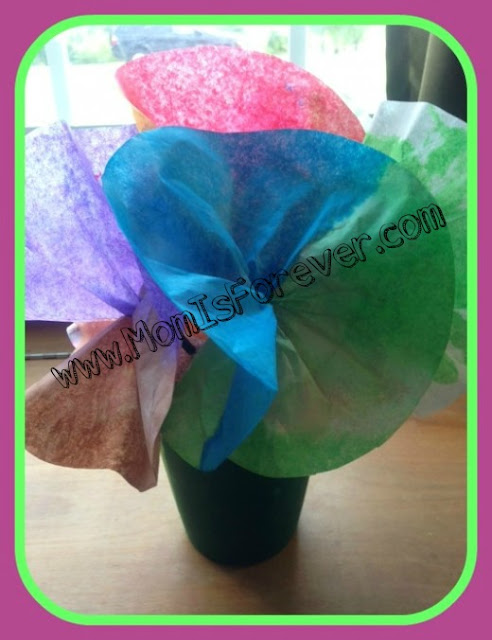
After we got all our stems secured into our Styrofoam balls, we fluffed
all our flowers. Here is our finished product. The only thing I added
after the following photo are the words “Happy Mother’s Day 2015” on
each pot. You can paint on a sentiment but I was short on time so I just
wrote it on with a permanent Sharpie marker. Of course, you don’t have
to write anything at all or you can write something else entirely
depending on the purpose of the gift such as “Happy Birthday” or “Just
Because.”
My daughter made one of these for me years ago and I still have it. As
long as it is kept out of the sunlight, it shouldn’t fade. It will be a
pretty keepsake for years to come.
 |
| Image Credit: Abundant Family Living |
You might also like this cute coffee filter flower wall hanging craft.


