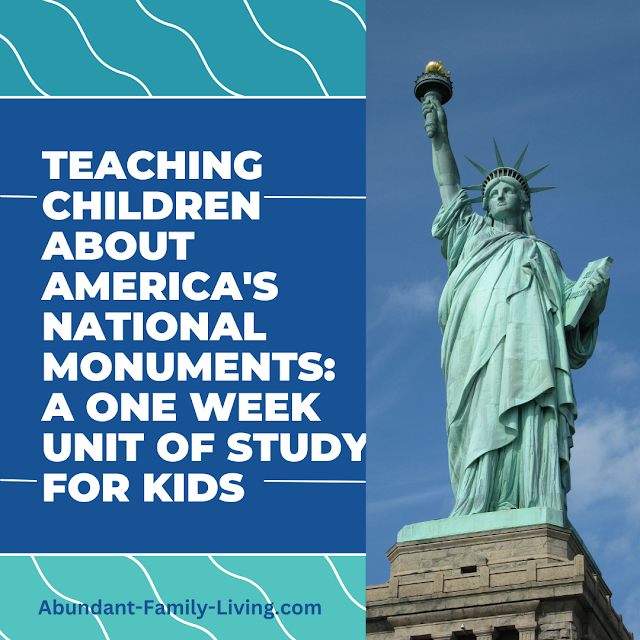
Teaching children about America's national monuments helps them appreciate American history and provides a foundation for them to build a sense of belonging and patriotism.
 |
| Teaching Children about America's National Monuments: A One Week Unit Of Study |
Teaching Children About America's National Monuments
Day One: Introduction to National Monuments
Lesson:
Start this unit on national monuments by discussing with your students what national monuments are. Show your kids photos of national monuments. This week, we will learn about the Statute of Liberty, Mount Rushmore, the Lincoln Memorial, and the Grand Canyon. Be sure to include photos of those monuments, but feel free to show them many others.
Story Time:
Read the following book to your students.
 |
| USA Landmarks for Kids is available here. |
Activity:
You will need:
Printer paper or pre-printed copies of national monument coloring pages.
Provide your students with coloring sheets featuring various national monuments. Include the four monuments we will be looking at more closely this week, but you can include others.
 |
| National Monuments Coloring Pages are available here. |
Day Two: The Statute of Liberty
 |
| America's National Monuments: The Statute of Liberty |
Lesson:
In 1886, he people of France gifted the Statute of Liberty to the people of the United States as a tribute to the friendship between the two countries. It became a national monument in 1924, a symbol of American freedom. It stands about 300 feet tall from the ground to the tip of the torch.
That statute of liberty hasn't always looked green. It is made of copper so it originally looked more like a shiny new penny. A process called "oxidation" happens when an element, like copper, combines with oxygen. Oxidation caused the outside of the statute to develop a brown coating called Tenorite. The Tenorite and oxidized copper combined with the sulfuric acid in the air creating the green color we see today.
Informational Resources About The Statute of Liberty
The National Parks Service offers a free educational curriculum on their website. The curriculum materials are divided by grade level.
Allow your students to watch this video about The Statute of Liberty
Statute of Liberty Worksheets
Kids Connect offers 6 free worksheets about the Statute of Liberty. You can save the images to your device. Then, print them out to use with your students.Source: Statue of Liberty Facts & Worksheets: https://kidskonnect.com - KidsKonnect, May 8, 2018
Children's Books about the Statute of Liberty
 |
| "Why is the Statute of Liberty Green?" is available here. |
 |
| "Otto's Tales: Let's Visit the Statute of Liberty" is available here. |
 |
| "My Little Golden Book About The Statute of Liberty" is available here. |
 |
| "The Statute of Liberty (Pull Ahead Books - American Symbols)" is available here. |
Activity:
You will need:
Activity: Your students will color a landscape scene including the Statute of Liberty. Then, they will cut out the Statute of Liberty and glue it as instructed on the website, 10 Minutes of Quality Time, to create a 3D model of the statute. In order to print out their example, you might have to become a member. If you don't want to do that, you can draw a similar one for your students.
Day Three: Mount Rushmore
Lesson:
Discuss the history of Mount Rushmore with your students. Tell them the faces on the monument are four former presidents. Discuss with them several key facts about each president.
Allow your students to watch the following video.
Story Time:
 |
| Where is Mount Rushmore is available here. |
 |
| Otto's Tales: Let's Visit Mount Rushmore is available here. |
Activity:
Using playdough, instruct your students to craft their own mountains. Using a quarter, a dime, a nickel, and a penny, tell them to press the faces of the four presidents into their playdough mountains. Check to see that they are pressing the faces in the correct order.
Day Four: The Lincoln Memorial
Lesson:
The Lincoln Memorial was constructed so that we will never forget Abraham Lincoln and the great things he did for our country.
Go here for a detailed historical accounts of the monuments of the National Mall.
Allow your students to watch the following video about The Lincoln Memorial.
Story Time:
 |
| What is Inside the Lincoln Memorial is available here. |
Activity:
Download this Abraham Lincoln mini-booklet. Print out enough copies for all of your students. Instruct your students to cut out the pages, staple them in order, and read them often.
Day Five: The Washington Monument
Lesson:
The Washington Monument is a tall building in Washington, DC that honors our first president, George Washington.
The Time Line for the Construction of The Washington Monument
1783: The Continental Congress first raised the idea of constructing a monument to honor George Washington.
1833: After many years of delay, The Washington National Monument Society was founded.
A man named Robert Mills designed a plan for a 600 foot tall obelisk, a tall thin pillar with a pyramid at the top.
1848: Construction of the Washington Monument began.
Various problems including the Civil War and a lack of adequate money delayed the construction.
1876: The Construction of the monument was resumed by the Army Corps of Engineers. Due to the passing of so much time, they couldn't match the colors shades of the stones, so the monument is three different shades from the bottom to the top.
1884: The capstone was placed on top to the monument. It was finally finished.
1885: 102 years after the Continental Congress first proposed the idea of a monument to honor President Washington, it was dedicated by President Chester Arthur.
Allow your students to watch the following video.
Key Facts About George Washington:
President Washington was born on February 22, 1732.
We don't know much about his childhood, but we know that his mother passed away when he was only eleven years old. Washington's older brother helped raise him.
In his 20s, Washington fought with Great Britain in the French and Indian War. When the war was over, he returned to Virginia where he worked as a farmer.
George Washington was elected to the Virginia legislature when he was only 26 years old.
He married Martha Custis in 1759. Martha was a widow with two children.
Washington served as one of Virginia's representatives in the First and Second Continental Congresses in 1774 and 1775.
When Thomas Jefferson with the help of the Second Continental Congress wrote the Declaration of Independence in 1776, George Washington was chosen to lead the new free states in the American Revolution.
Later on, the states chose representatives to elect a president. George Washington won their vote.
Learn more from National Geographic Kids here.
Activity:
The National Parks Service offers a "Build Your Own Monument" craft complete with a PDF download and instructions here.
Conclusion: Virtual Tours
Visit the Statute of Liberty, Mount Rushmore, The Lincoln Memorial, and the Washington Monument via virtual tours at the following links.
We hope students, teachers, and parents enjoy a week of exploring three of America's most valued national monuments. We hope your students, through discussion, hands-on activities, crafts, and virtual tours develop an appreciation for these monuments and all they represent.


